How to Repot a Plant Correctly & Safely? (4-EASY STEPS)

Repotting a Plant Seems Difficult & Risky, But Believe me its Very Easy & Simple, If You Follow a Right Method. In This Post, We Will Discuss Indepth About The Steps & Rules of Repotting Any Plant. Following This Method Step By Step Guarrentes The Recovery of The Plant, So Keep Reading.
Why to Repot a Plant?
First Of All Its Important To Understand, Why Do We Even need To Repot a Plant. Answer is Simple, Roots Continue To Grow & At Some Point They are Stuck imside The Pot, A Root Bounded Plant Never Grow Well, To Help it Grow Again, You Can Give It a Bigger Pot.
Another Scenario Is When You Wanna Change The Soil, May be the Potting Soil of Your Plant is Not Loose & Well Draining, & Here You Should Change It, Otherwise with Time The Plant Goes Under a Shock & Dies.
One More case Is When There Is an Overuse of a Fertilizer, Or May be The Roots of The Plant Are Rotting & You Wanna Save it, Whatever The case is, Repotting The Plant is a good Option, But Do It carefully.
What is the Best Time for Repotting a Plant?
The First & The Most Important Thing For Repotting a Plant is To Do It In The Right Time. The ideal Time For Repotting differs Plant To plant, but a General Rule is To Repot The Plant in Springs & Rainy days.
In both The Times, The Himidity is A Little High & temperature Is Cooler, Which reduces The Chance of Death of The Plant, After The Repotting. The Plant Mostly Dies After The Repotting, Due To Over Exposure of Roots, shock & Lack of Moisture in The Plant Body.
But If You Do The Repotting in The Springs or in Rainy days, The Plant Recovers Very Well. So Follow The Right Time For Repotting.
The Correct Method of Repotting!
The Correct Method Of Repotting Inlcudes a Few Easy Steps, but Whatever The Plant You Are Repotting, Always Handle The Root Bowl Very Carefully, Try Not To Damage The Roots.
1-Choose a Good Soil…

The First Step of Repotting is Simply Choosing a Good Soil mix. Before You Take The Plant Out of The Older Pot, You Should Prepare The Soil Mix, Some Plants Likes a Little Bit Hard Mixture.
While Some Likes a Sandy Kind Of Mixture, But Ideally a Well Draining a Slightly Loose Soil mix is A Good Choice For Most Plants, You can make Such A Mixture at Home, Simply Follow The Homemade Recipe Linked Here.
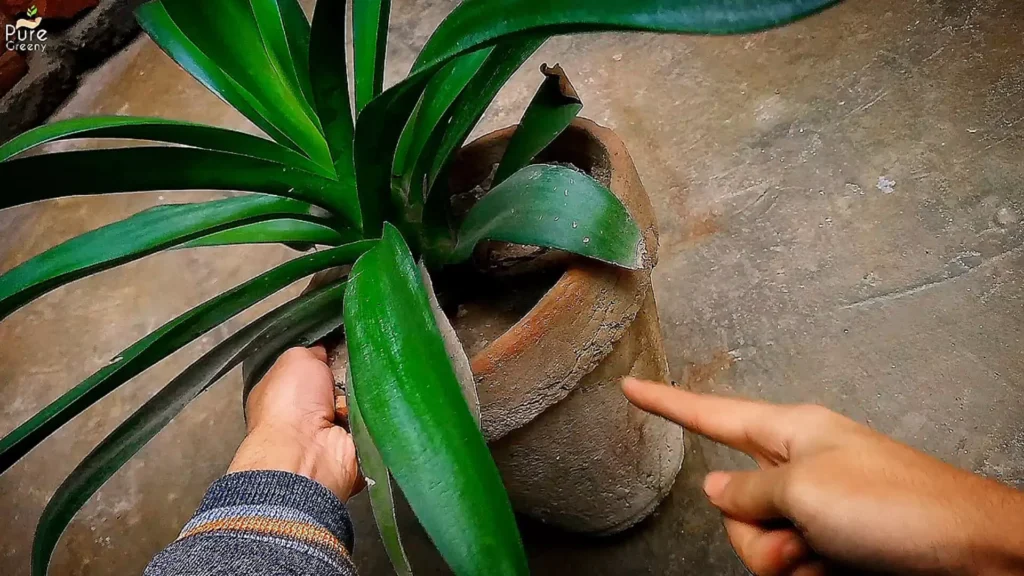
2-Have a Big Pot…

Another Simple Step of Repotting is To Prepare The Pot. Assuming Your Plant is Root Bounded, You Should Choose a bigger Pot Than The Older One, If You are Repotting For Changing The Soil Mix Or You are Treating a root Disease, Then You can Even Choose The Older Pot.
But Always Make Sure The Pot Have Drainage Holes, a Good Choice Is Having a Grow Bag, They Have An Excellent Drainage System, They are Also Linked Here To Buy.
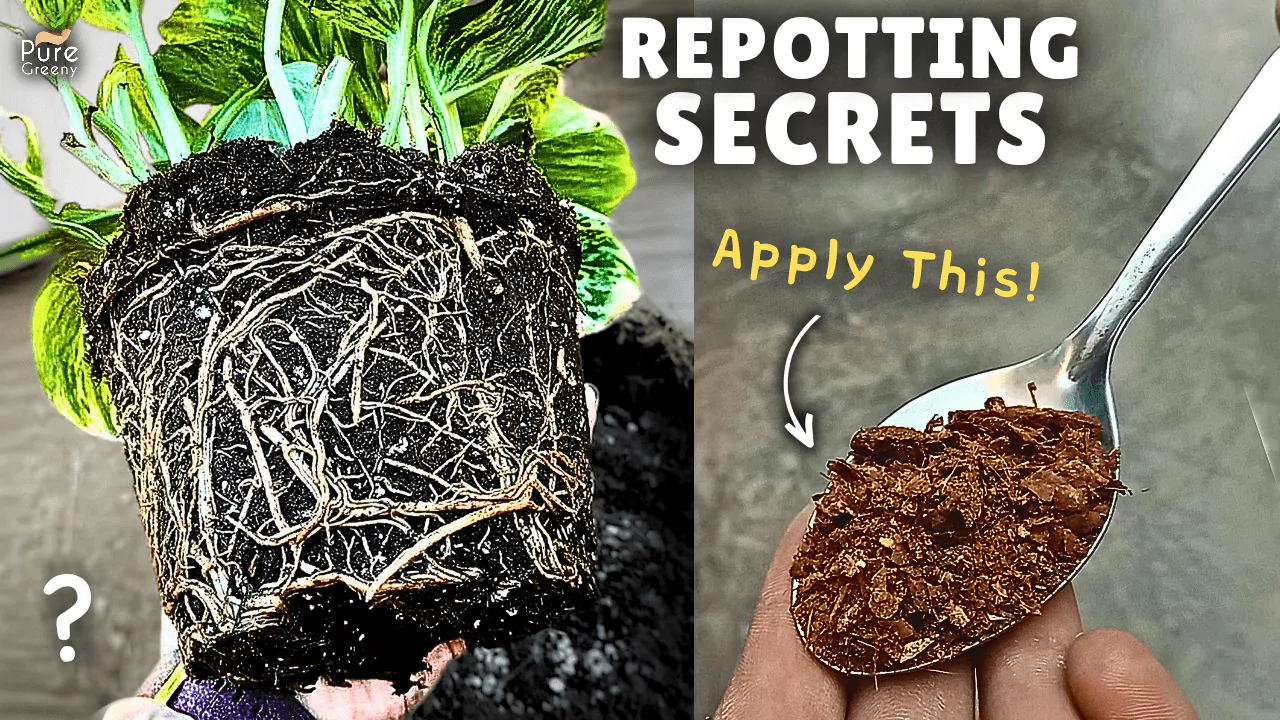
3-Separate Root Bowl…
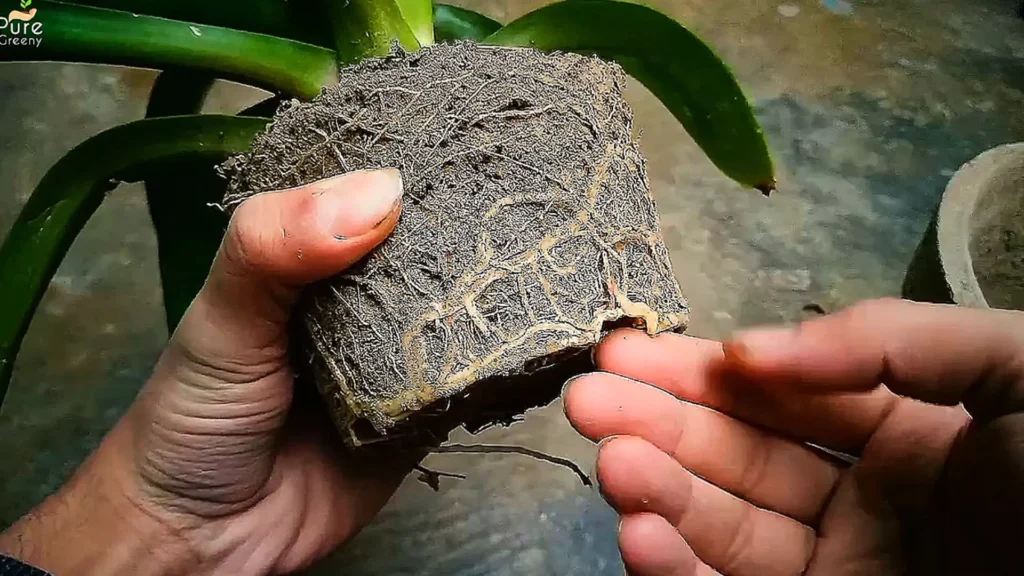
Another Easy Step of repotting is To Separate The Root Bowl. The Part of The Soil Congested With The Roots, Mostly Around The Main is Trunk is The Root Bowl. You Should also Water The Plant A day Before Repotting, So The Plant Will be Hydrated, But if The Soil is Already Moist, Than There is no Need.
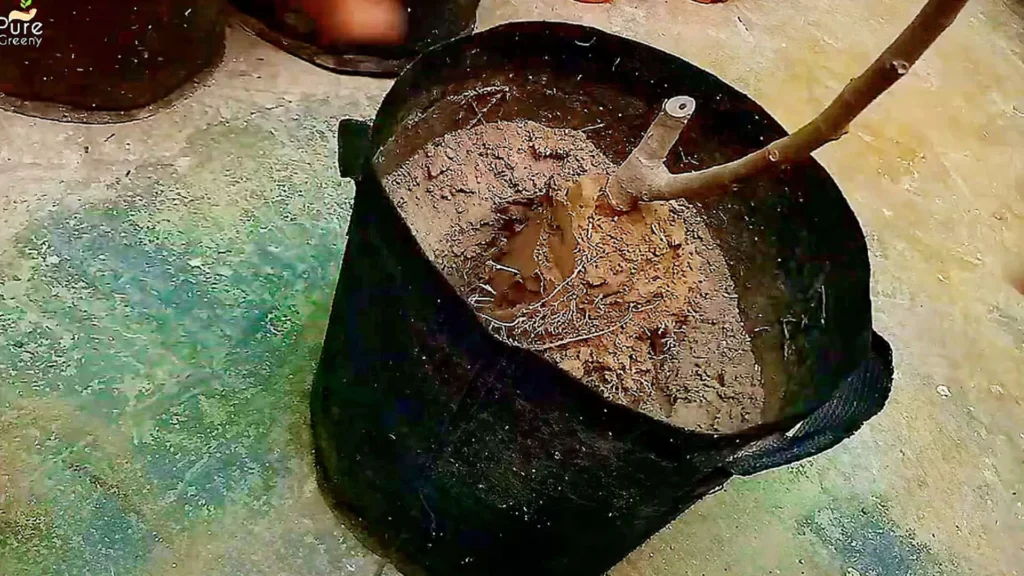
Carefully Get the Root Bowl Out Of The Pot, Try Not To Break So Many roots, do This Whole Procedure at A Cool Evening, Once The Root Bowl Is Out, Now You Can Even remove The Older Soil, Or If You Are Just Repotting, Then Simply Place The Root Bowl In The Centre of The container.
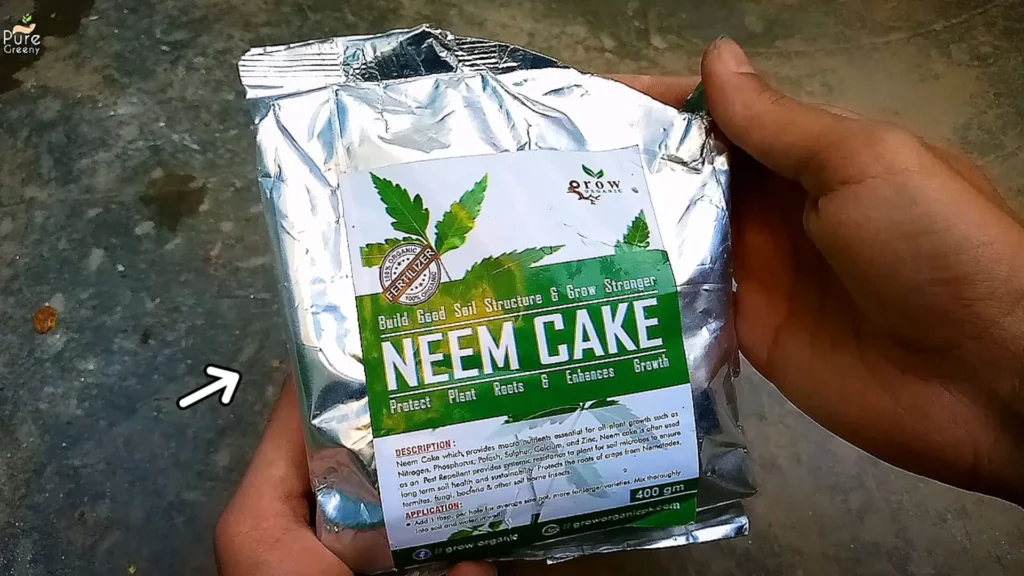
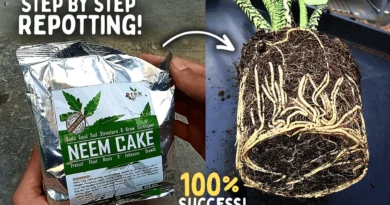
At This Stage, You Can Use a Table Spoon of Neem Cake Powder for Preventing Fungus, Specially If You are Repotting For Root rot Issue, Otherwise No Need For This. Now fill The Container With The Soil Media.
4-Remove Air Gaps & Water…

Another Step Is To Remove The Air Gaps, They can Cause Fungus In The Soil & Also For an Effective Watering, Removing Air Gaps Can be Very Helpful. Simply Hit The Pot Gently With The Ground, So The Whole Soil Settles Down.

Now Water The Plant A Little, Make Sure The Soil is a Little Moist, Not So Wet, Not So Dry.
After Care & Recovery….
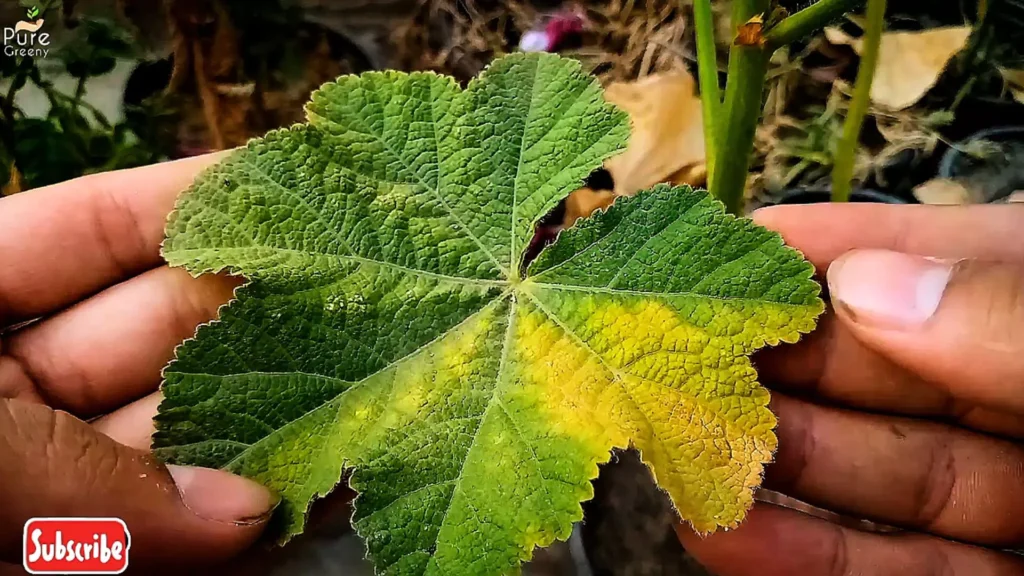
After The Repotting, Its Extremely Important, To Let the Plant Rest For A While. You Should Simply Place It in a Bright Shade, Away From Direct Sunlight. Within a Few days, May be The leaves Turns Yellow & Start To Fell off, But Thats a Normal, Its a Natural Thing.
If You are Dealing With Yellow Leaves, There is a Detailed Guide Added Here, You can Follow That To Know its Solutions.
But After Repotting, Yellow leaves are Natural, Just have Some Patience, Within a Few Weeks, Your plant Will Grow a Few new Leaves, & Then You Can Move It Back To a Sunny Area.
While The Plant is Under Recovery, Dont Fertilizer it Or prune It at All, Just Water Only When The Soil get a Little Dry. This same Procedure Can Work On All Type of Plants, For succulents & cacti, For House Plants, For Flowering plant, Indoot Outdoor All plants. Just Follow Point By Point.
So its All About Repotting a Plant, Here is a Detailed Guide On Agave Plant If You Like to Know.