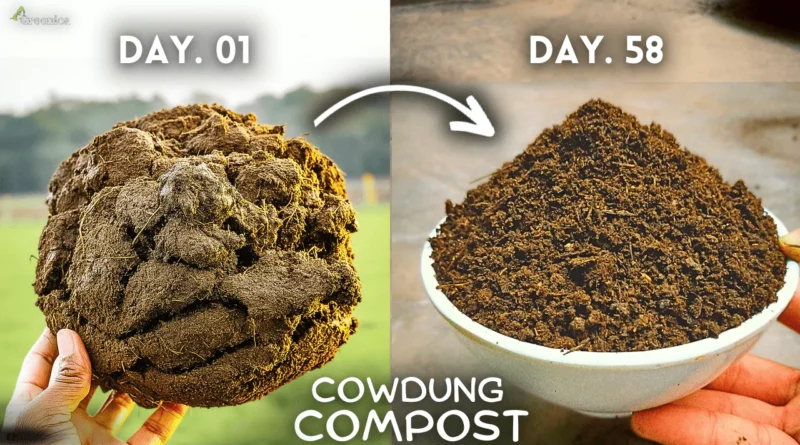
How To Make Cow dung Compost At Home? (Beginner’s Guide)
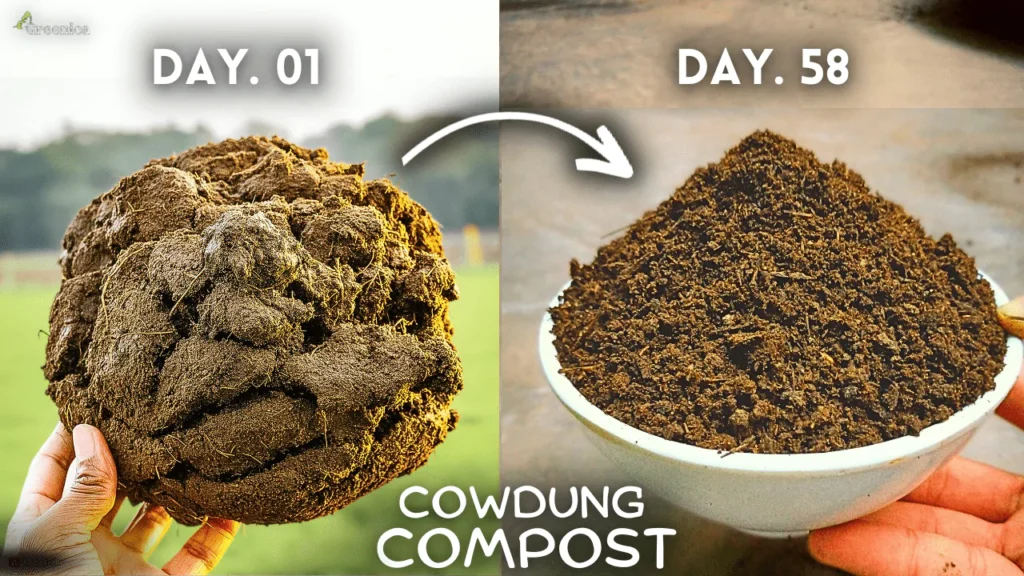
Cow dung Compost Is an Excellent Source of Nitrogen & Other Trace Elements for Plants, & Making It At Home Is Super Easy. You Can Follow Some Easy Steps & Make Cow dung Compost at Home, So lets Know The Whole Method Step By Step.
Why To Make Cow dung Compost? Is It More Useful?
First Of all There is a Simple Questions, That Why We Need To Make Cow dung Compost At Home, Cow dung is a Useful Fertilizer, But Its Also Harmful In Raw Form & By Composting The Cow dung We Can Convert It Into a Safe & An Absorbable Form.
The Excessive Heat of Nitrogen That is Present In The Fresh cowdung Will Be Gone Totally If We Decompose It First, & Thats Why Cow dung Compost is More Safe & Useful.
What is The Right Time To Make Cow dung Compost?
Another Important Thing For Making Cowdung Compost At Home is To Know The Right Time For This. Basically You Can Make It Anytime You Want, But For Faster & Better Decompostion, A Little Warm Season is Best.
The Decomposing Bacteria is Most active In Springs & Summers Days, in result Your Compost Will Be Ready Soon. Overall You Can make Cow dung Compost Whenever You like To, But Its Best Time is Springs & Summers.
How To Make Cow dung Compost?
Following Are The Some Easy Steps To Make Cow dung Compost at Home.
Step. 1 – Cow dung Cakes
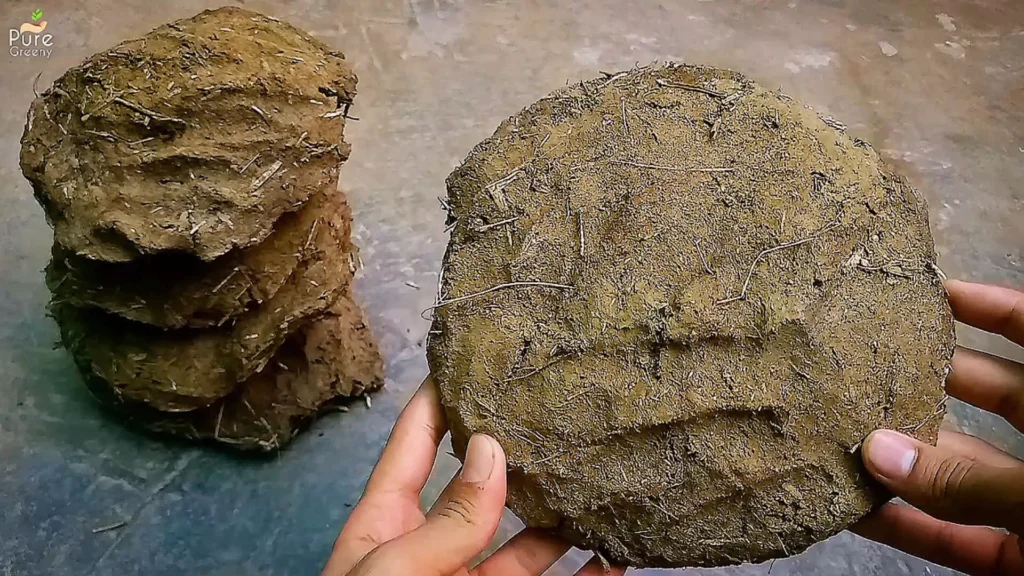
The first Step To make Cow dung Compost At Home is to Gather The Cow dung Cakes That is Its raw Material. if You Live In a City You Can Find Them In dairy farms, & In Villages Cow’s pop is very easily Available.
You Can Dry it In The Sun, & Then Follow The Further Steps. Most of The Market Bought Cow dung is Like This, a Light Brownish Color, That is Just The Dried Form of Cow manure, Its not a Composted Form. So You Can Also Use This To make The Cow dung Compost.
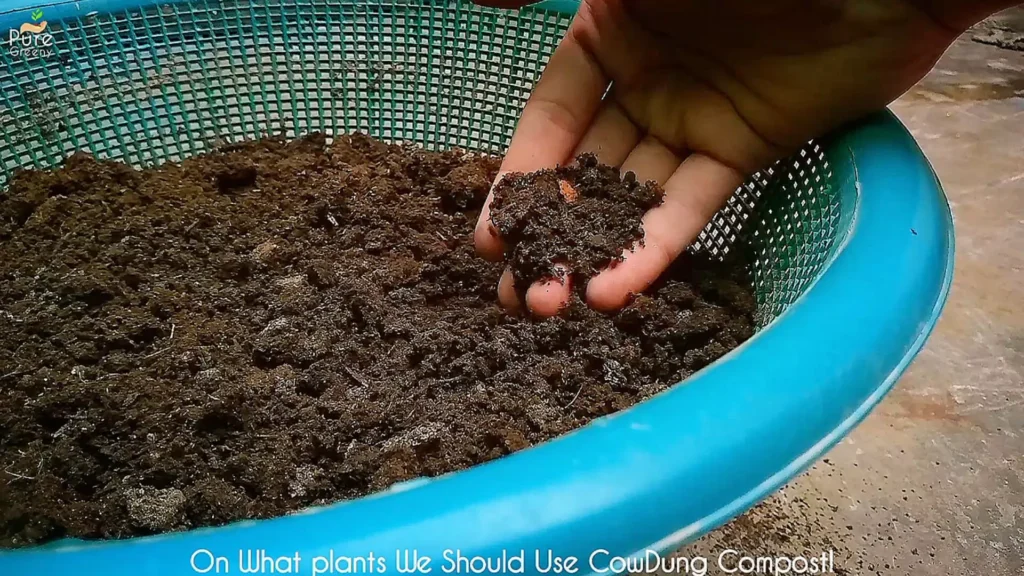
The Composted Cow dung is Dark In Color & You Can See a Clear Difference in Both Types, So If You have The Dried Cow dung, Make A Compost Out Of It.
Step. 2 – Preparing Compost Bin

Another Step of making Cow dung Compost At Home Is To Prepare The Composting Bin. Any Wide & Porous Container With Drainage Holes At The Bottom can be Used For This Purpose.
You Can also Checkout Some Of The Composting bins From This Link. You Can Also Place another Container Below This Pot, Which Will Collect The Draining Liquid.
Step. 3 – Adding Microbes Media
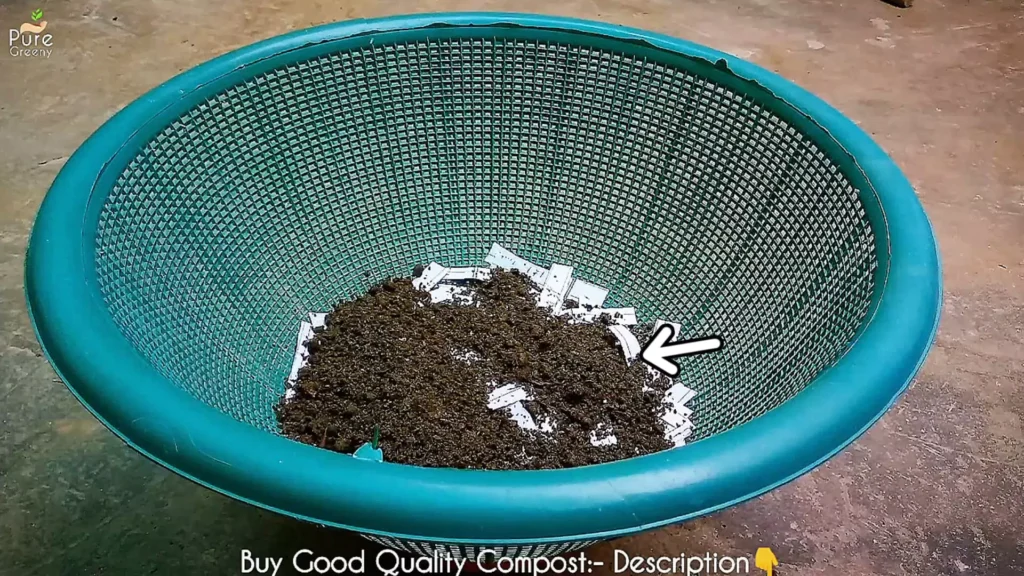
Another Step of Making Cow manure is To add Microbes Media at The Base of The Compost Bin. The Bacteria will be Abundant at The Base, So here We Need To add Some Media For Their Feeding & reproduction.
Simply Place Some Pieces of Paper & Then Add Some Compost Or Soil. Compost is Enrich In Bacteria That Will Carry On The further Decompostion.
Step. 4 – Going Layer By Layer
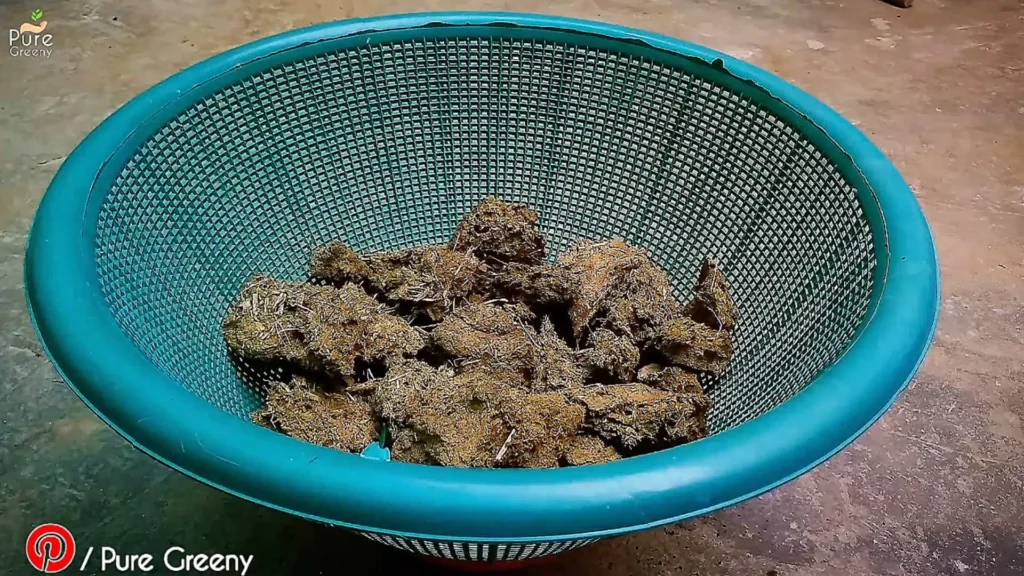
in The Next Step, Now We Can Add Our Main Ingredient that is Cow dung cakes, Its better if You can Crush Them Into Smaller Pieces, it Will Increase The Surface Area For The Activity Of bacteria. Keep Adding The cow dung Cakes Or Powder whatever You have.
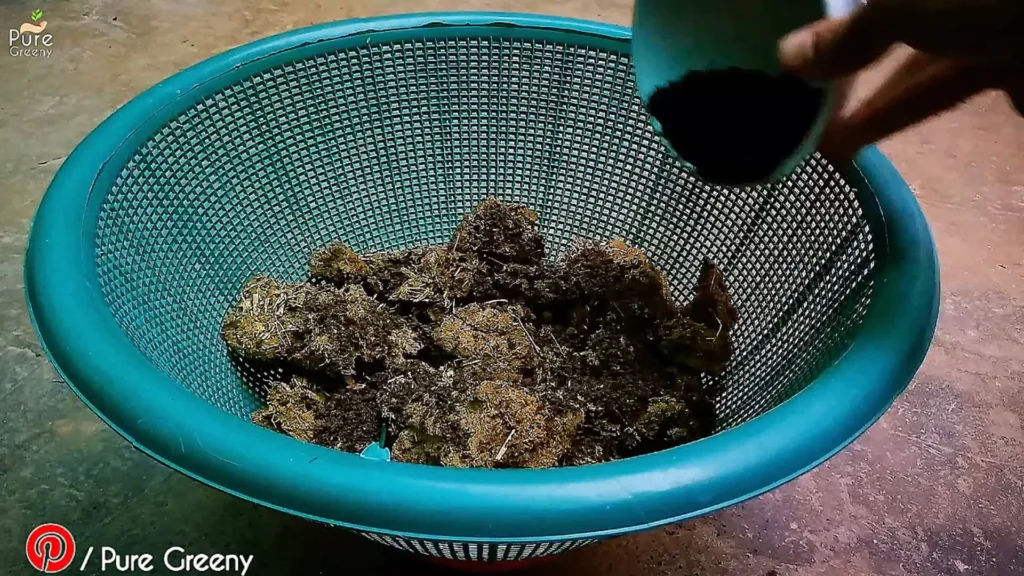
You Can Also add Some Compost Or Soil After Some Cow dung.

Then Again Add Cow dung & Then Compost Or Soil, This way make Multiple Layer, Cover The Whole Material With Soil After Wards, It Will Stop any Bad Smell of decomposition.

Now You Can Water Your Composting Material, Moisture is very Important For A proper Decompostion, So Keep The Material Moist All The Time. Whenever The Top Soil Layer Dries add Some Water. Keep This Composting bin In a dark & Warm Area, Away From Direct Sunlight.
After 35 Days….(Compost Tea)
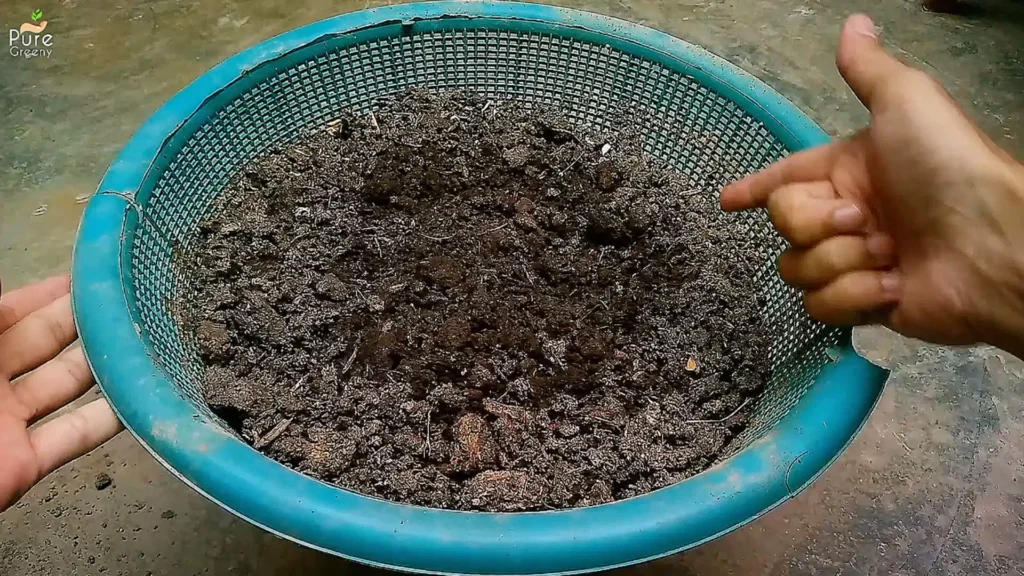
After Around a Few Weeks of Decompostion, You Will see The your Composting Material Is Settling Down, That means The Bacteria Have Started Its Work. During This Time, Keep The Material Moist, & If Possible Keep The upper Soil layer Loose by Regular tilling.
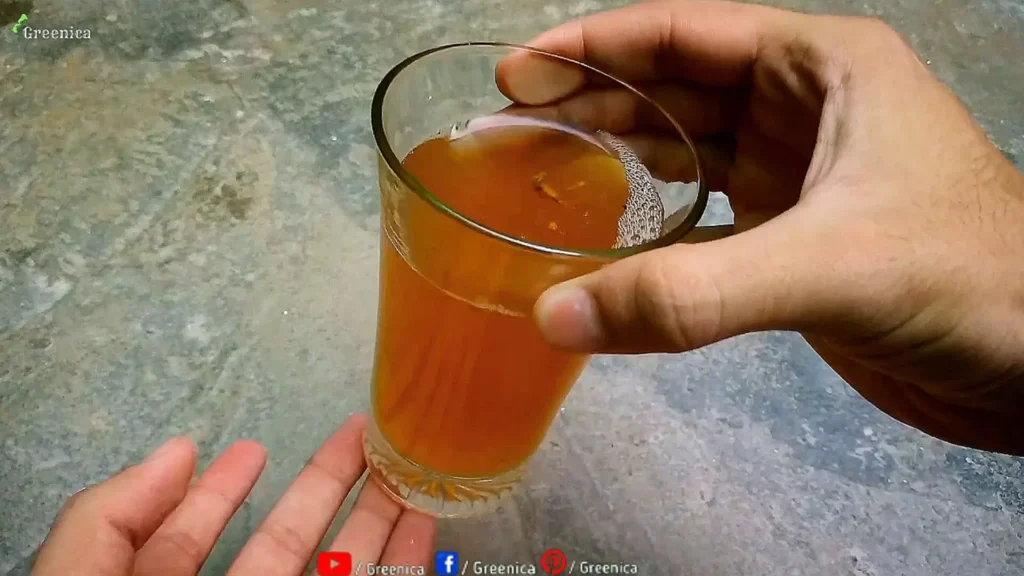
This Will Keep The Gaseous Exchange Proper. You Can See Our Cowdung Cakes Are Turning Dark. In Base Container, You Remember The pot We had, It is Collecting The Draining Liquid, This Draining Liquid Is Full Of Nutrients, You Should use this Compost Tea By Diluting It With More Water.
Its Best For house Plants, Foliage Plants etc Detailed Video On Cow dung Compost Tea & Its benefits Is Linked Here, If You Like To know.
After 58 days….(Harvesting)
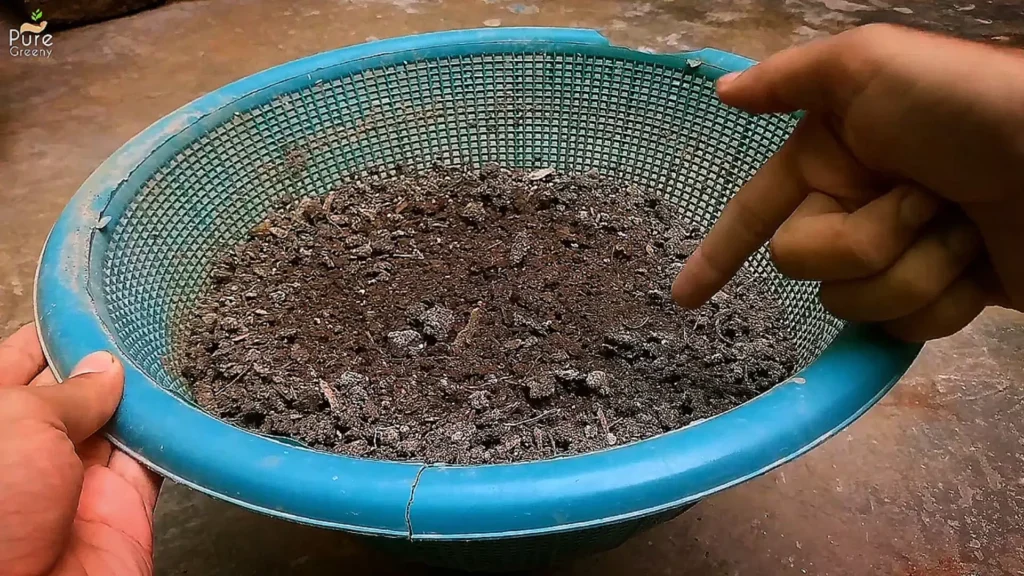
After around 2 months, our Compost is ready To use. Simply loose Some of The Material & see if Its Fully decomposed or Not, a Ready to use Compost Wont Have cowdungs Smell, on The Other Hand It Will be Earthy In Smell, With a Loose Texture & Dark Color.
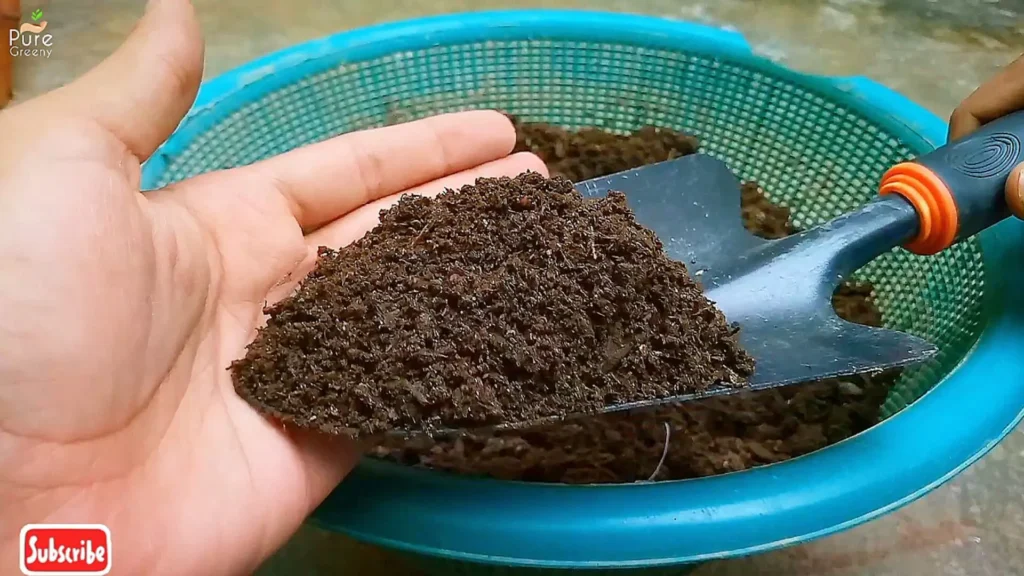
Now Its Fully Ready To Be used For Plants. You Can Collect This cow dung Manure, In a container & Store it Forever, Just Keep it a Little Moist If Possible.
How To Use it For Plant?
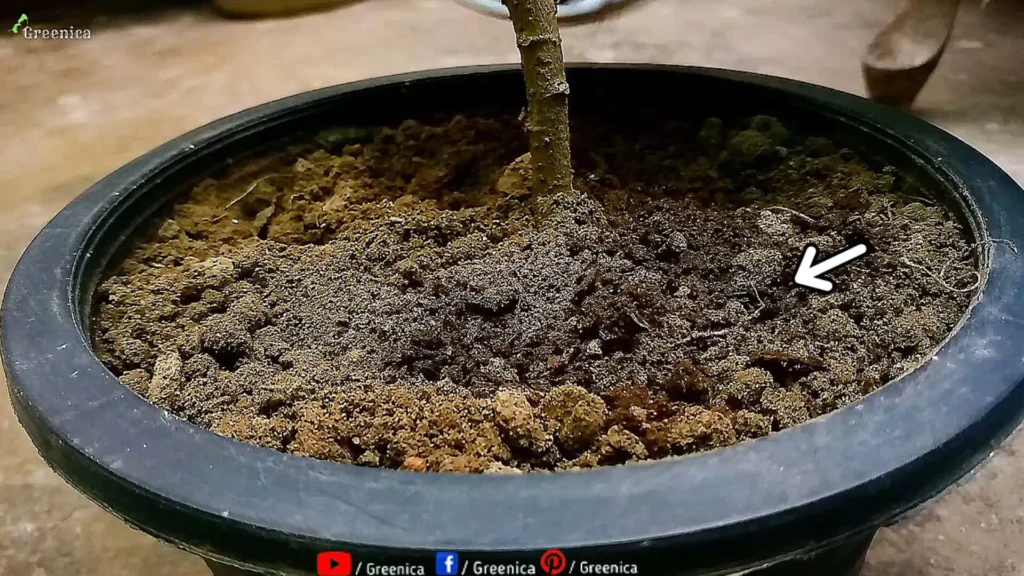
To Apply Cow dung Compost on a Potted Plant, Loose The Upper layer of Soil & Let It Dry. Now add a Dose of Cow dung Compost on The Soil & Mix It Properly. The Dose for a 5-6 inches Pot is Around a Handful Twice a Month, & For a Bigger Container You Can increase The Dose Respectively.
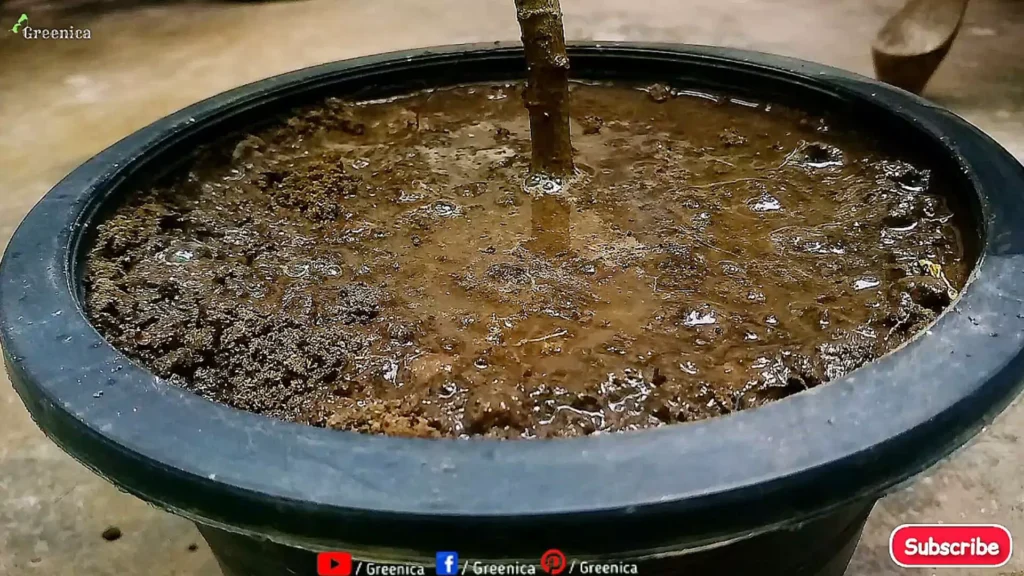
Water The Soil Well After Fertilizing, Dont Use To much of of cow Dung compost In Summers Heat, & on a Recently Repotted Plant. & To Learn About The Do Dont Of cowdung fertilizer In details, Follow The Article Added Here.
On What Plants Cow dung Compost Can Be used?

You Can Use Cow dung Compost On Almost All Type of Plants, Like For Flowering Plants, Vegetables, House Plants etc. On Any Plant That Produces leaves, As It Is best For Green foliage, Try To avoid Using On Seedlings.
& For Succulents & Cacti, Yes it Can be Used But use Less. & It better If You Use This fertilizer, Its Made Specially For cacti & Succulents. Article On This Is Linked Here.
So Its All About Making Cow dung Compost At Home, Another Safe & Useable Nitrogen Enrich fertilizer is Blood meal, That You Dont have To Decompose First. Here is a Detailed Guide On Blood meal fertilizer & Its benefits, Must Check it Out.
