How to Grow Turnips From Seeds Step by Step? (With UPDATES*)

Growing Turnips From Seeds Is Very Easy, Following a Few easy Step Even a Beginner can Do This. In This Post, I Will Show You The Step By Step Way Of Growing Turnips From Seeds, Till Their Harvesting, We will also See The Best fertilizer, Which Soil mix & all That Tips & Tricks So Keep Reading.
What is The Right Time To Grow Turnips?
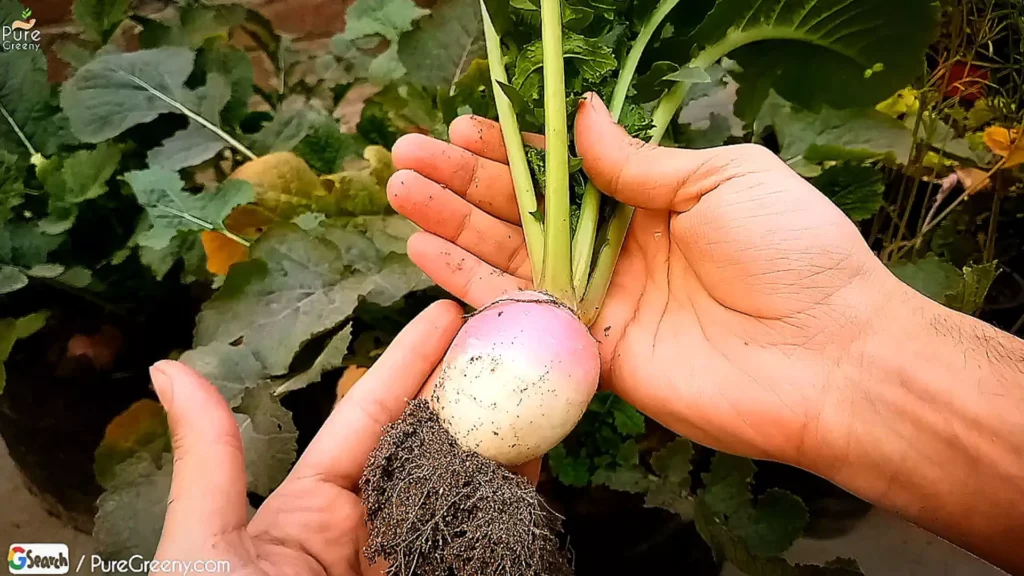
First of All Its Highly Important To Know Whats The Right Season & Time To Sow Turnip seeds. Its Most Important, Plan This very Carefully, & Further Care Will Go Very Smooth.
Turnips Are Cool area Plants, Not So Cold & Not So Warm, Little Coolness Helps Them Grow Bigger & Bigger, The ideal Time to Sow Turnip Seeds depend On Your areas Climate, If Winters Are Cold In Your Region, You Can Sow Them In The Springs, Till Early Summers.
But If You Live In a Moderate Climate Country, Where Winters Arenot So Cold, You can Sow The Turnip Seeds In The Starting Winters, Upto ending Springs. In This Time frame, They Will Germinate, Grow Bigger, Make turnips & Reaching Ending Springs You can Harvest Them. Overall Ideal Season Is Very Important, Winters For moderate Climate Countries, While Springs & Summers, For Cold Climate Regions.
How To Choose Best Quality Seeds?
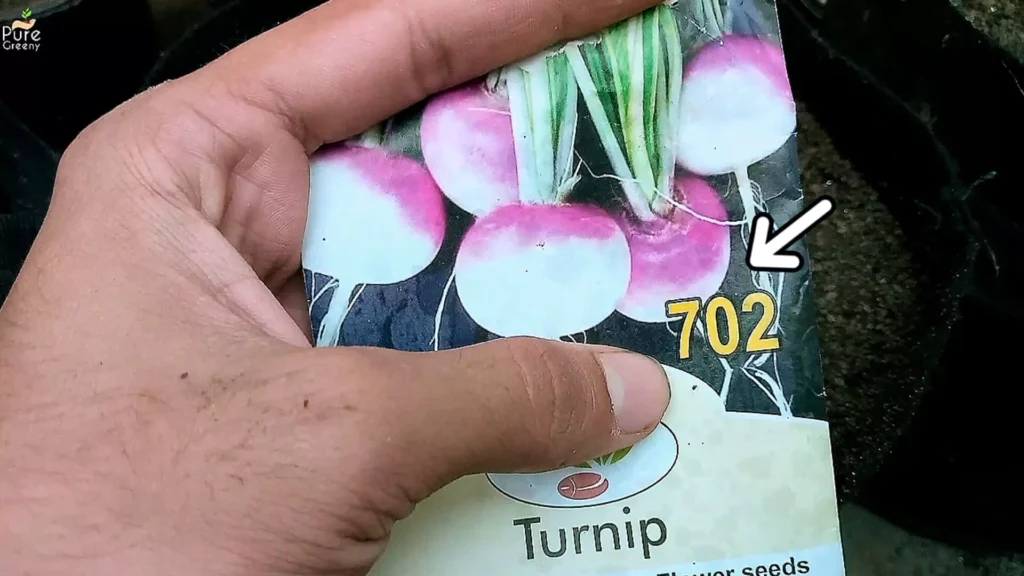
Another Key thing For Growing Turnips Is The Quality of Seeds. Fresh & healthy seeds have a high germination rate, While The Older Seeds May produce Lesser & Weak Seedlings. So Choose Carefully, Buy From an Authentic Source, Some Good Tried & Tested Seeds are also Linked Here, You can Buy That.
If You are Growing Them For The First Time, Choose a Locally Grown Common Variety, They Are Easy To Grow, Unlike the Fancy Varieties.
Preparing Seed Starter & Pot….

One Important Thing For Growing Turnip Seeds Healthily is a Good Seed Starter. Its Nothing Special, Any Loose & Well Draining Soil Media Can be Used as a Seeds Starter Mix. Turnip Seeds Grow Quickly, if The Season is Right, Soil doesn’t Do Much.
But To Make Sure of Everything, A Well Draining Soft Mix Can be Used. Spread It In The Sun until Its fully dry, This Will Remove All The germs, & Now Our Mixture Will Be Best For Seeds. If You Wanna Make a Seed Starter at Home, You Can Follow a Simple Soil recipe From Here.
For The Pot, Choose any 5-6″ bigger Pot, With Drainage Holes, You can Also Buy Them From Here.
Sowing Turnip Seeds…
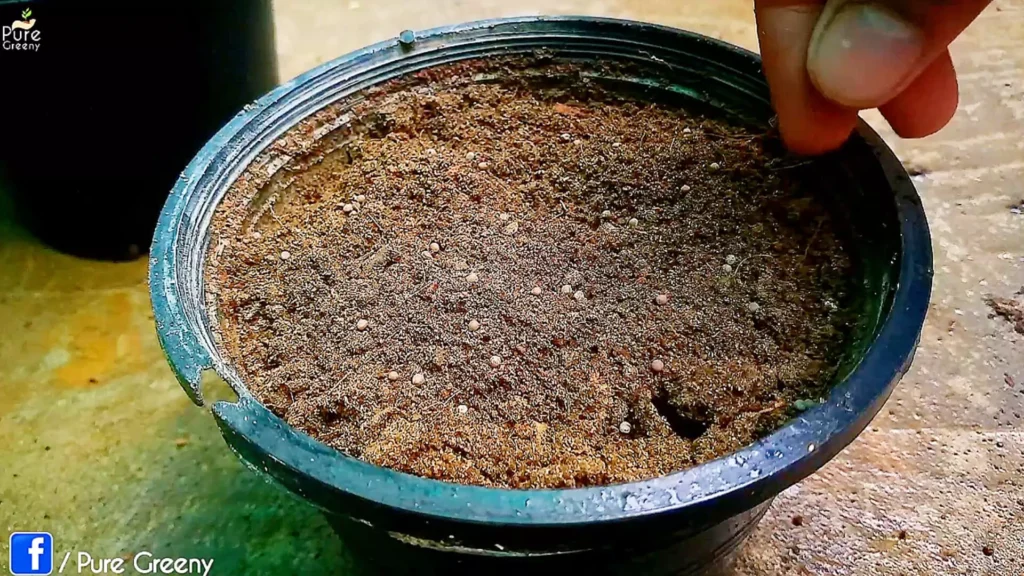
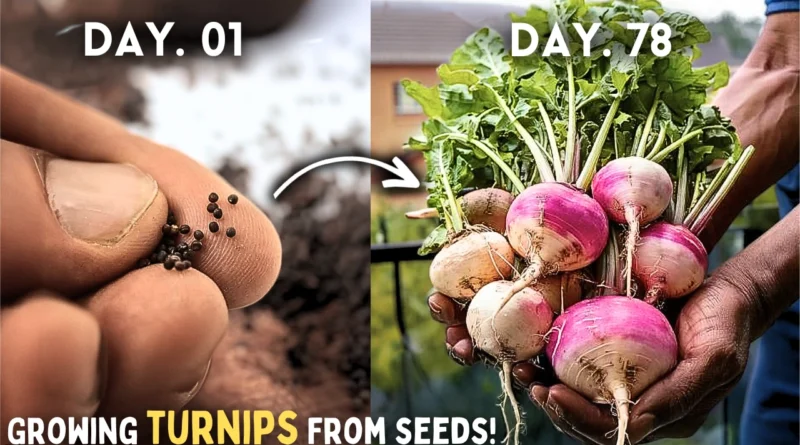
Now Lets Sow The Turnip Seeds, Place The Seeds Over The Moist Soil Media, Distance Them Evenly.
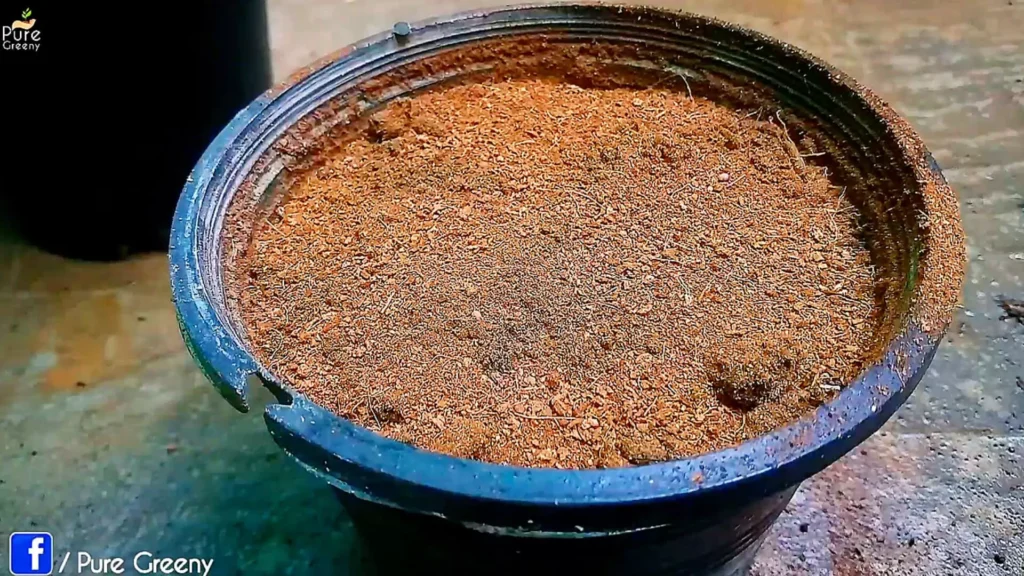
Cover Them With a Thin Layer of Same Soil, Or use Cocopeat. Just make Them Disappear, Dont Bury Them.
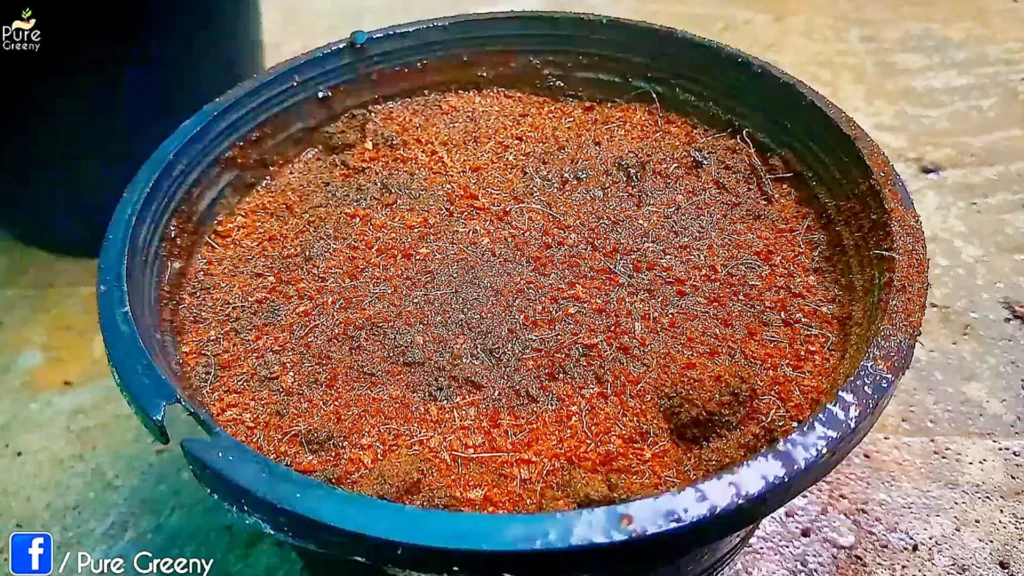
Now Make The Soil Fully Moist, First Watering is Important, Make It wet, So The Seed Cover can Crack Open, & the Sprout Can Make Its Way Out. Place This Pot In a Fully Bright Area, A Little Away From Direct Sun.
After 6 Days…
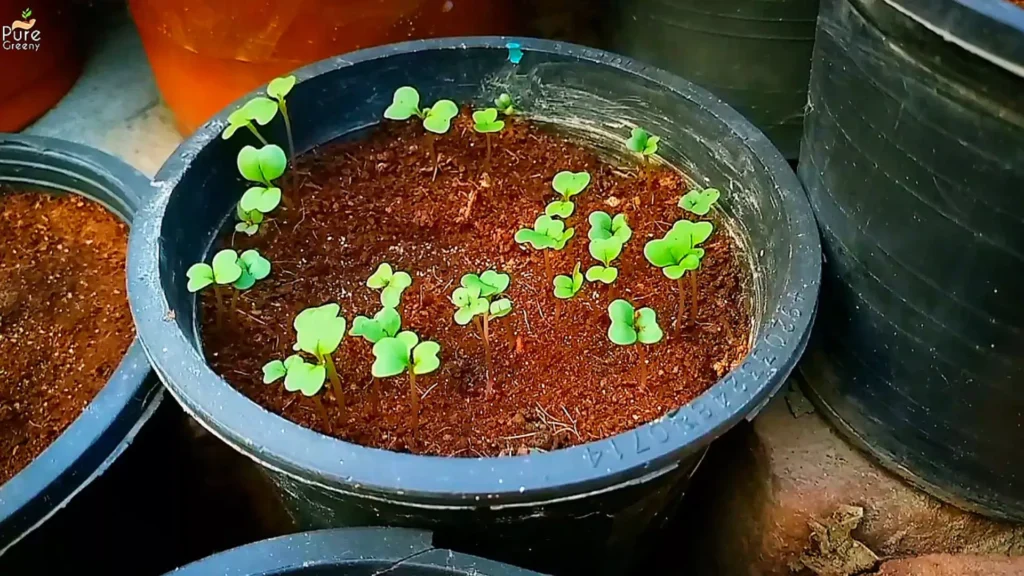
After a Week Or So, Tinu Tiny Seedlings Will Poop Out, At This Stage, Make Sure of Bright Light.
How To Transplant Them?
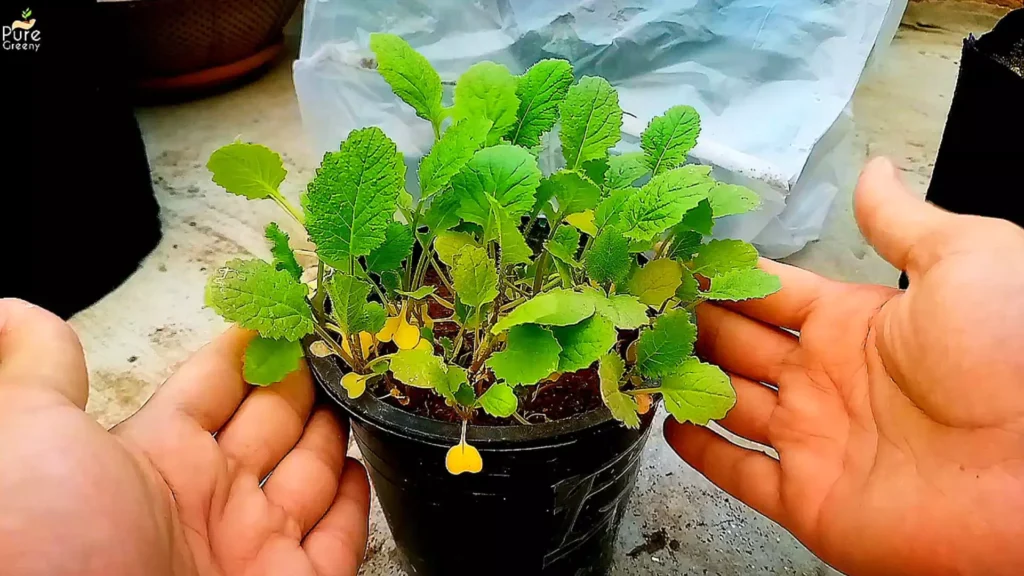
After a Few Days, The Turnip Seedlings Will Be Mature Enough To Be Transplanted, Wait Until They have a Few True Leaves Then Transplant Them. Choose Such a Wider Grow Bag, its Porous, Best For Growing all The Root Vegetables, You can Buy it From Here.
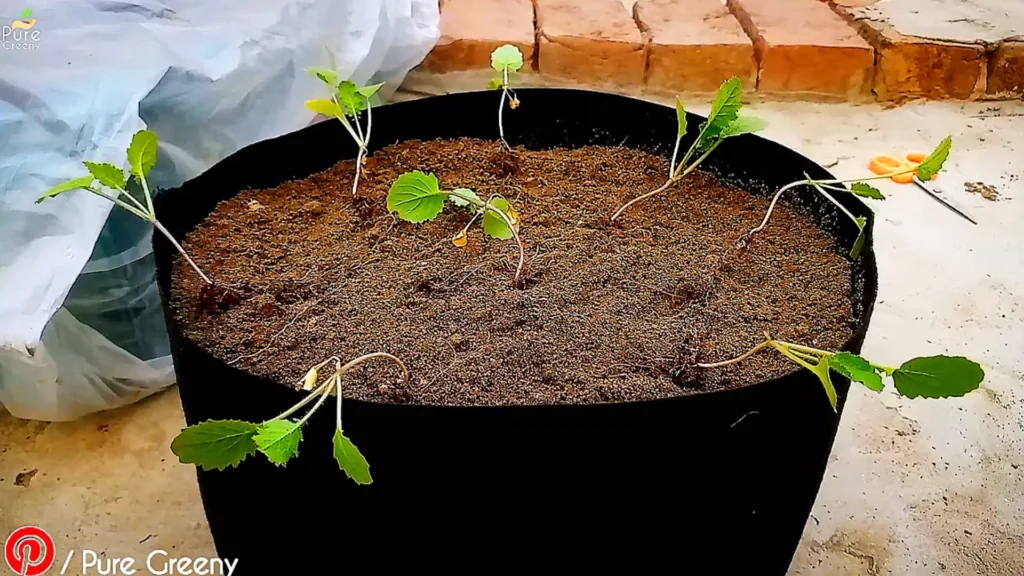
Just Make Sure The pot Is Wide & Atleast 5-6″ Deep. For The Soil Mix, I am using My Homemade Potting Mix, Its a Little Loose & Well Draining, To Know Its Recipe, You can Follow This Guide, Otherwise use Any Good Mixture, Carefully Get The Seedlings Out Of The Pot, Try To Damage As Less Roots As Possible.
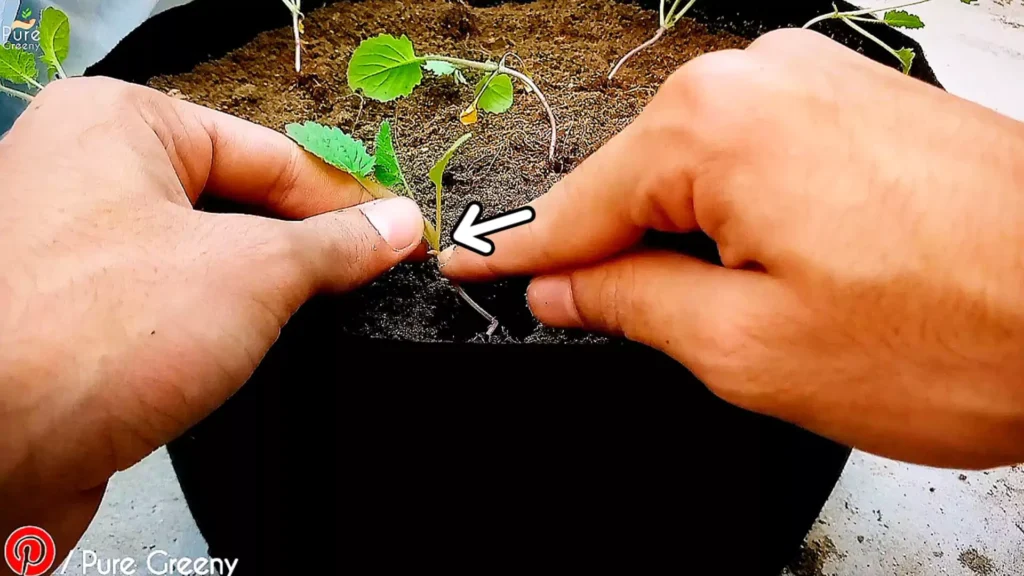
Do This Procedure at a Cool Evening, Not In Sunlight. Make A Hole In The Soil Bury Its Trunk Upto The Crown Part, From Where all The leaves Are Appearing. Gather soil Around The Trunk To Provide Support. This Way Shift all The Seedlings 4-5″ Apart.
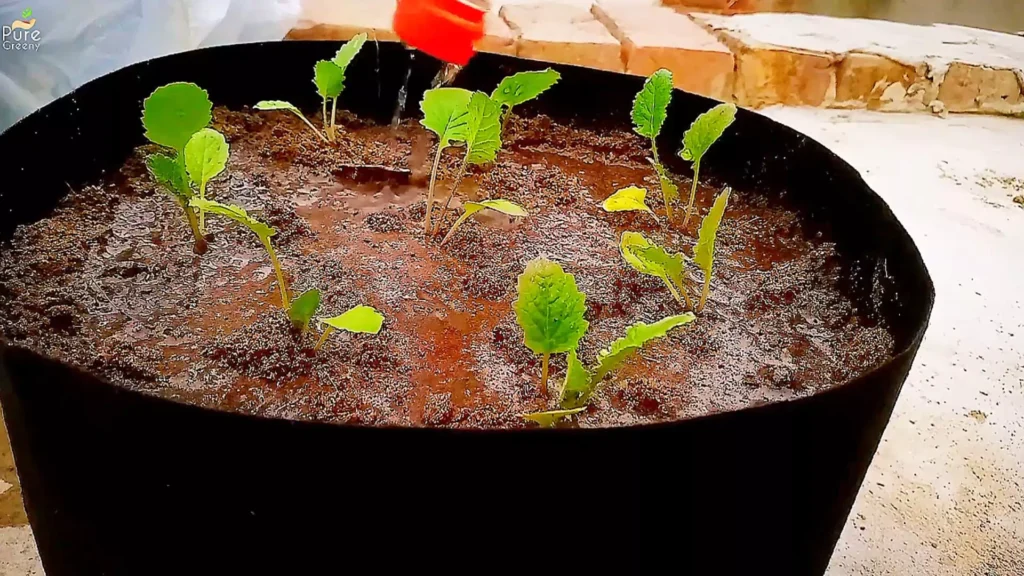
After This Water Them carefully, Try Not To Through Water Over The Seedlings. Just Make The Soil Moist. Let Them In a Shade For a Few Days, Then Move Back To a Sunny Area.
After 25 Days…
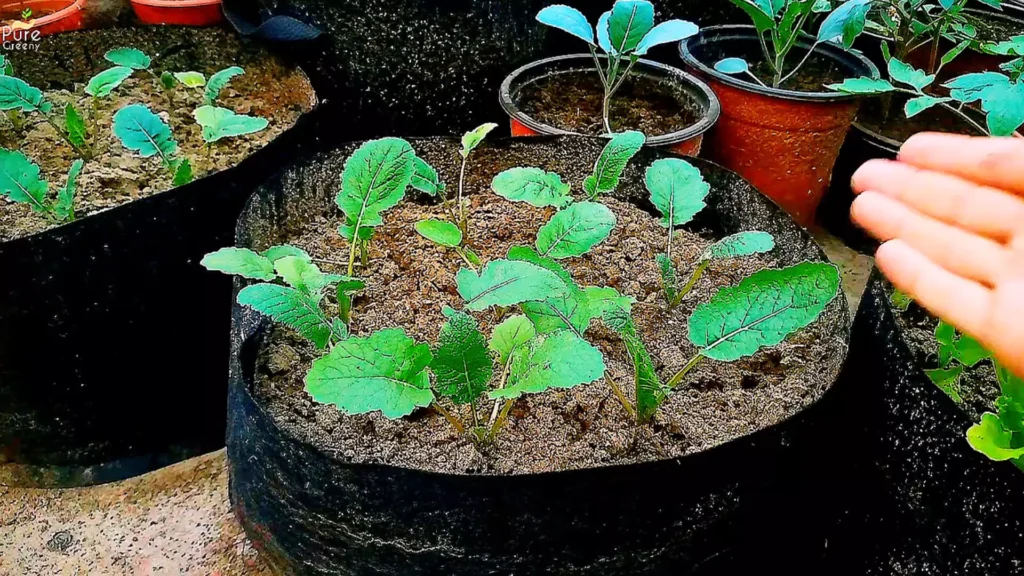
After a Few Days, Your Turnip Plants Will Stand On Their Own Feet & Start Growing. Some Plant May Die, But That’s Fine It Happens All The Time.

Now They Will Keeps On Growing, Move Them in a Sunny Area, Minimal of 2-3 Hours. This Will help The Plant became Stronger & Resistant Of Diseases.
What’s The Best Fertilizer For Trunip Plants?
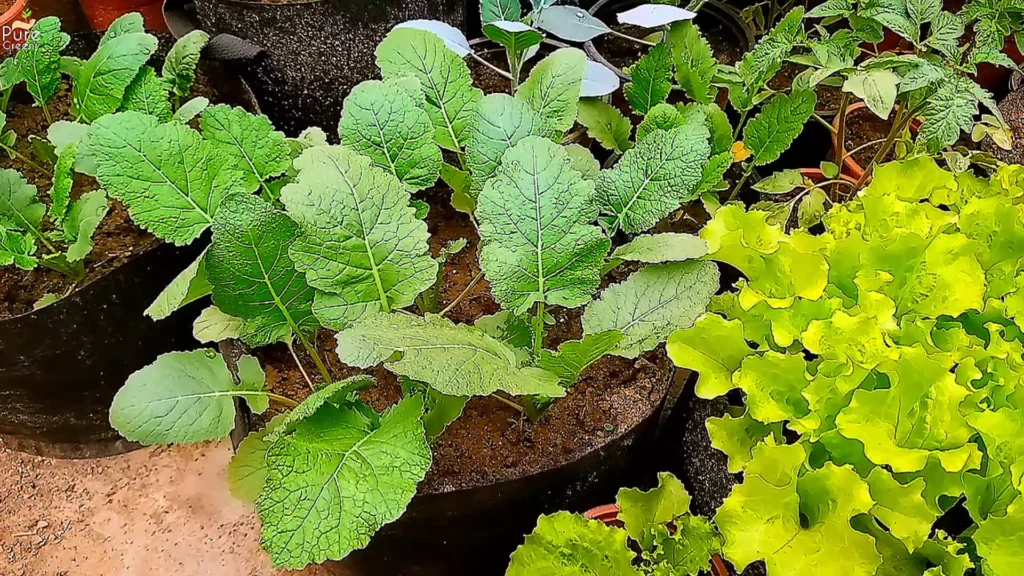
At This Stage, You can also fertilize them a Little. use a nutrients Enrich fertilizer, Thats aslo a Little Acidic. You can use This vegetable Fertilizer, Its made At Home using Kitchen Base Ingredients. Detailed Guide on This is added Here. Make It & Use It Every 2 Weeks, Once The Plant Became 1 month Old.

You Will See Your Plants Growing Very Fast, Let Them Grow, Just Dont Water Too Much. You also have To Use a Pesticide, Pests can Harm Your Plants At This Stage, To Prevent Them You can Use Several Pesticides From Your Kitchen. You can Find More About This From Here. I am Using Neem Oil, That Works Best. But garlic onion Spray can Also Work Well.
Harvesting Correctly?
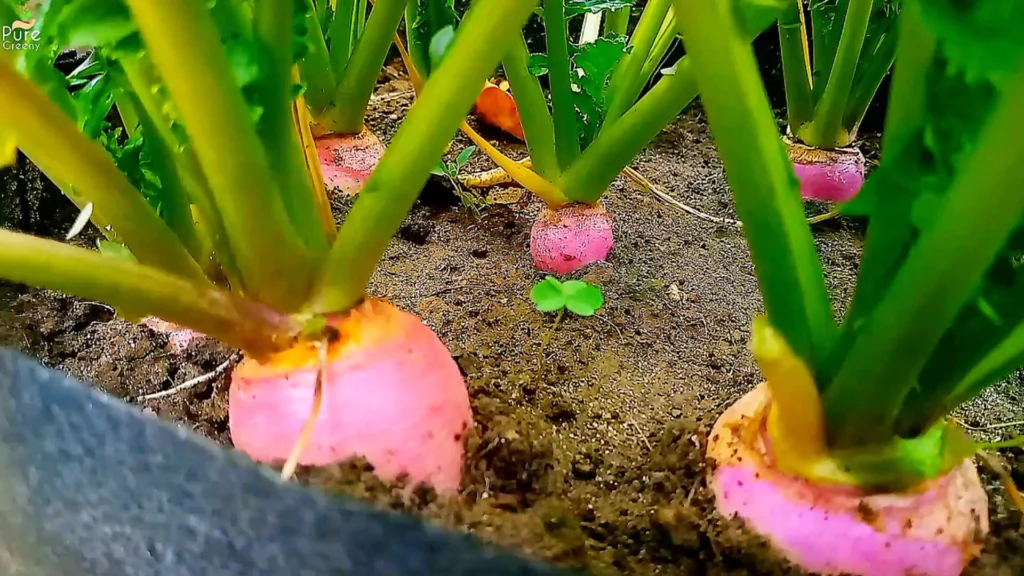
So Its Around a month & Half, The Bulbs of Turnip Plants Are Now Pooping Out Of The Soil. You can let Them Grow, But The Taste Will Fade, So Its The Best time To Harvest, You can Do This as Soon as They Poop Out.
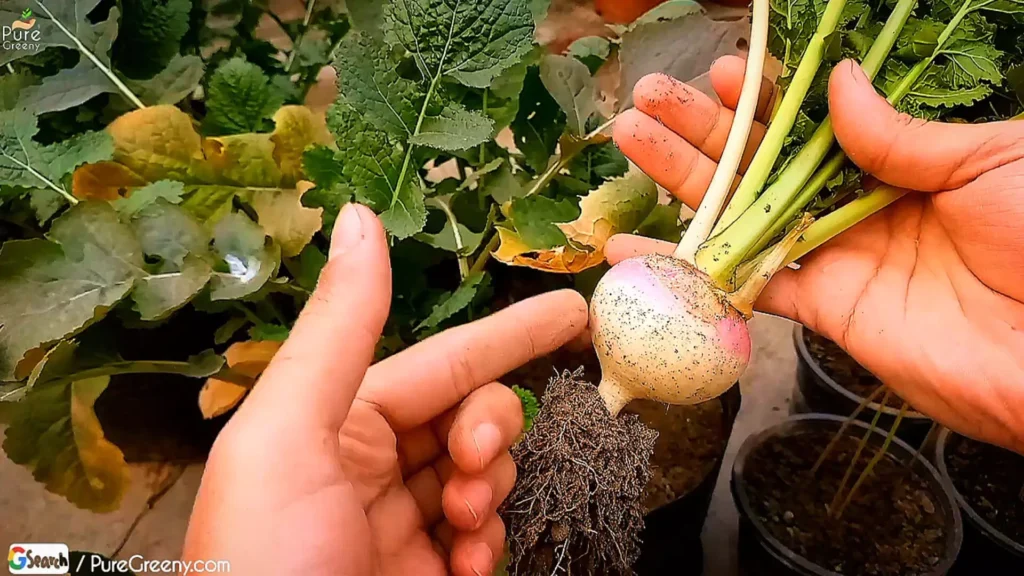
Just Grab Their Trunk Part & Pull Out Gently. So here Is Our First Home Grown Turnip. Harvest Them All One By One.
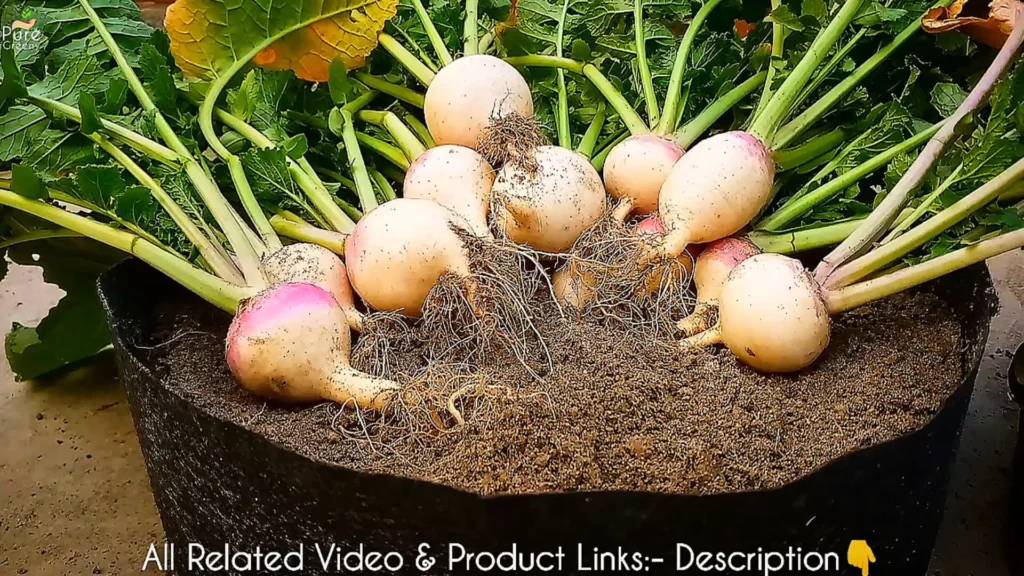
So Look at This, Its Our Harvest Of Turnips Grown Organically. If You Follow This Guide, Point By Point You can Do This Very Easily.
So Its all About Growing Turnips At Home, Follow This Guide To Know How To Lettuce From Seeds.
